A little backstory here: The company I work for bought several brand new string trimmers over the winter, most of which were impressed into service this spring, which as of this writing was less than 90 days ago. Over the past week or two, several of them have come into the shop with massive power losses as the chief complaint. What's the first thing I have noticed? The guards have been modified.
Tying the guards back to get a larger arc to cut down more weeds is a common trick employed by landscape laborers to get the job done faster, but it comes with a cost, and that cost is massive carbon buildup in the very small (less than 100cc) cylinder bore. Essentially, allowing the string to come out longer than the factory intended places a drag on the clutch and the rings of the piston. Drag means extra heat, but not necessarily more fuel being burned, and this is what leads to the carbon buildup.

In this first picture, you can see that some goofass has taken it upon himself to tie the guard back closer to the shaft and therefore allow more trimmer line than necessary (or designed for) to be out at one time. This trimmer has a very small engine on it, and all this will do for you is screw that engine up over a very short period of time. So the first thing I am going to do is...

Cut that line and make sure that the guard has not been completely messed up. I also cut the excess line off because of the drag I mentioned earlier. Which would you prefer? Either get the job done a little slower or not get the job done at all because I am busy fixing the machine you screwed up?


You might have to do this a couple of times to get as much carbon loosened up and blown out as possible. The next step after this is to reinstall the spark plug, find a spot where you will not catch anything on fire, and start the engine. be forewarned, there will be sparks flying for a couple of minutes. This is more carbon leaving the cylinder. Run the engine at full throttle for about a minute.
Reassemble the muffler assembly reversing the steps previously outlined and test again. You will definitely hear a difference in the engine. Tightening the muffler down will force the metal piece back into place, if necessary.
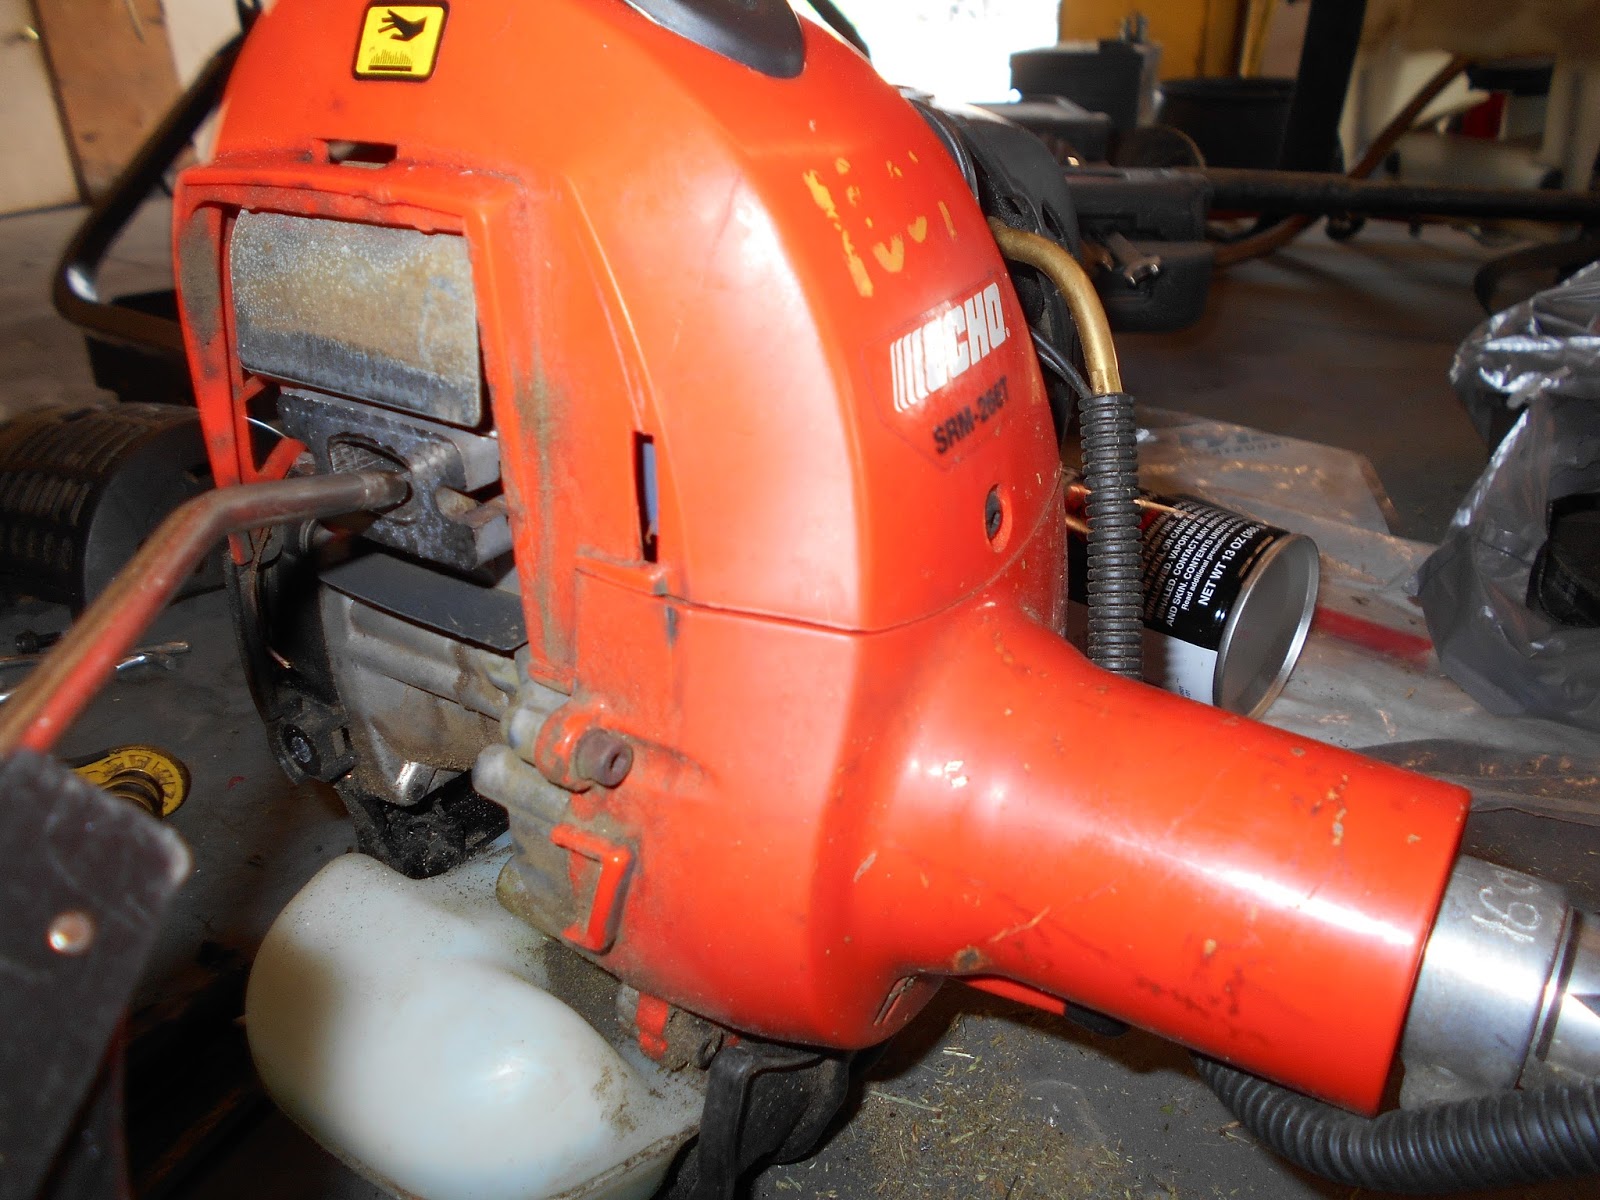
This is written for an Echo string trimmer model SRM 266T. Other makes and models look similar but essentially all work in the same manner.
No comments:
Post a Comment