I am convinced that one of the "elderly parents" of the individual I bought the Durango from weighed in at about six hundred sixty six pounds or so, give or take a king size snickers bar, and that this person drove the vehicle whenever it went anywhere. I am also convinced that they had about twelve little yapping dogs with very sharp nails but this is a story for another day. So when I am driving the truck around the seat feels like I am sitting on a large pointy rock. No cushioning, no heat (there is a seat heater) and the bottom of the seat is all beat up. If I am going to own this truck I am not driving around like that, so it is time to fix it.
I went to my favorite salvage yard, Crescent U pull it, and found a seat in relatively decent shape, purchased it and brought it home, where it sat for a week while I lived my life, went to work, etc. I was thinking that the back of my seat is in good shape, while the bottom of the seat is pretty much dead. That being said, I am going to use the bottom of the "new" seat and the back of the "old" seat.
The first thing was to remove the track from the bottom of the "new" seat, which is held on with six torx head bolts. Use a T-40 torx bit and remove them. Four of them are under the seat track, but there are holes in the track's frame that are large enough to get the bit through.
 |
| Add caption |


(Above)-Remove the track, disconnect the electrical connections and set the track with the seat motors aside, and you will be looking at this.
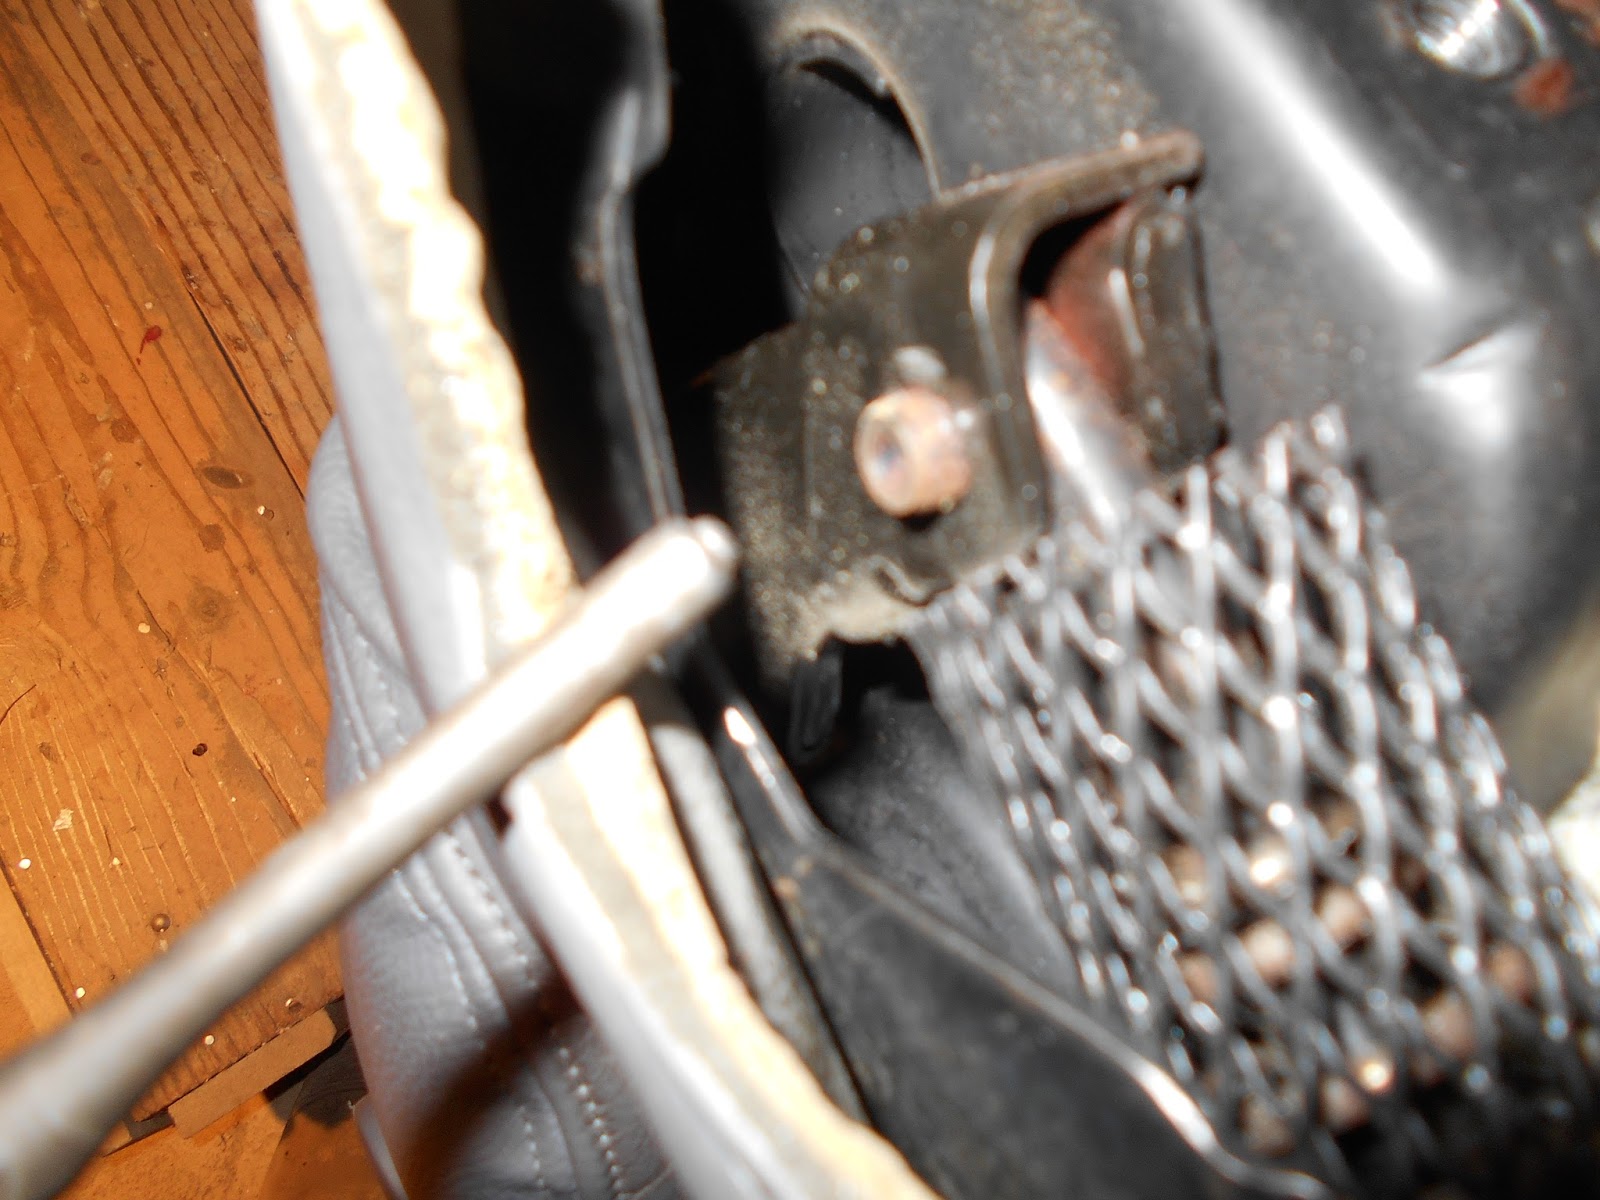
The next step is to remove the side mounted seat controls. The panel is held in place by two screws and the recline handle is held in place by one screw. Using a Philips head screwdriver remove the three screws, remove the seat control panel, and reattach the recline handle.

(Above)-The seat motor controls. One screw is behind the recline handle.

(Above) There was a retainer that held the seat wiring in place. A solid pull will free it. Set this aside.
Next there are two large shoulder bolts on either side of the seat that need to come out. They are located on the outside of the seat hidden by fabric or vinyl or other seat material, as shown below. Using the T-40 bit, remove these and set them aside.

For the last step in seat disassembly (separating the back from the bottom) there are two roll pins on either side of the seat back frame as shown below. These can be knocked out with a hammer and drift (also known as a punch). I used a 1/4 inch drift from sears (Craftsman) that has a raised nub on the end. This nub goes into the center hole of the roll pin and keeps the drift aligned, and prevents damage to the roll pin, so that it can be re-used.
(Above)- you can see the nub I was talking about on the end of the drift. I found it was much easier to tap out the roll pins from the inside of the seat (tapping them towards the outside of the seat) rather than into the seat. I should mention that those springs in the picture are to guide the seat recline function. They should not come off and you should not try to remove them. I don't know if they are under any appreciable pressure or not but they stayed in place on my seat.
The next step is to clean the "new" seat bottom with soap and water. I used some Dawn dish soap (since this is what I had in the house) to first do the dishes from dinner, then I made a fresh batch of soapy water and used a sponge to scrub off any dirt or oils or whatever stuff was lurking on the seat. After drying the seat with many paper towels, I placed the seat in a trash bag. This will not only help to keep it clean but in addition to the Dawn dish soap, I have four cats in the house, three of which don't like me too much.
The next step is to clean the "new" seat bottom with soap and water. I used some Dawn dish soap (since this is what I had in the house) to first do the dishes from dinner, then I made a fresh batch of soapy water and used a sponge to scrub off any dirt or oils or whatever stuff was lurking on the seat. After drying the seat with many paper towels, I placed the seat in a trash bag. This will not only help to keep it clean but in addition to the Dawn dish soap, I have four cats in the house, three of which don't like me too much.
My next step was to prep the seat for recoloring, which I did at work along with dyeing it the proper shade of dark slate grey. I used products from SEM, which were their plastic and leather prep spray and their Chrysler dark slate grey Classic Coat (part#17373), followed the directions on the cans, and made my "new" seat the proper color.
I will say this about the SEM products: The dye is flexible, unlike the stuff that auto wherever sells for eight bucks a can that lasts maybe a month or less. The other is that my girlfriend has never, I mean never, asked me how I did something. Oh sure she has seen me do things from installing a head gasket to installing a new clutch out in front of the house but has never seemed impressed to the point of asking me how I did something. Frankly I would rather spend a little money to get it right than save a dollar for the project to look like shit in a week.


(Above) The cushion of the old seat, torn to pieces.
Now the joys of reassembly come into play, starting with reinstalling the shoulder bolts. There are plastic spacers that help to keep these bolts in place. Line up the holes and if needed, insert the spacers as shown below: (One of mine fell out.)

Next item is to reinstall the roll pins. Drive them from the inside of the seat and make sure they are flush with the end of the bracketry. I used a drift pin on the other side to help keep the seat in line, as shown below.

The next step is the install the control panel for the electrical functions of the seat. It is important to note that the screw that holds the recline handle in place is different from the other screws, so be sure to find the right one. If the screw is not going in, it's the wrong one.


(Above) Make sure you feed the wiring through this opening in the seat frame to avoid damage to the wiring. Once installed, secure the wiring with either the factory clips (preferred but sometimes they break) or zip ties, again to avoid damaging the wiring.


Now you need to install the seat track to the seat bottom. Install the front bolts loosely, as you will need to slide the track around a little to get everything to line up properly. Also if you install the back of the track first, you will not be getting the front bolts installed.


(Above) The finished product, ready for installation. Make sure to test the seat functions before you go out and about and make sure to install the seat belt anchor to the seat itself.
Tools needed in my case:
T40 torx socket.
T50 torx socket.
13mm socket
18mm socket
5/8 inch socket.
Sources and suppliers for this job:
Crescent U Pull It (Donor seat)
R&E paint supply (SEM specialty coatings and dyes)
SEM Products (Home page for SEM)
No comments:
Post a Comment