What causes the haziness and yellowing of headlight lenses is dirt flying around in the air and UV rays coming from the sun. Over time, the surface of the plastic will start to break down, and the UV rays are what turn the plastic yellow. If this gets to be bad enough the damage will cause the lights to shine less brightly due to diffusion and in places like where I live, this could cause you to fail the annual safety inspection.
I used meguairs' Heavy Duty headlamp restoring system, which includes a buffer, two sanding pads (1000 and 3000 grit), a handle for the sanding pads, a bottle of plastic polish/cleaner, a bottle of plastic polish, and a microfiber towel. You need to provide a spray bottle, a drill (the instructions recommend a corded drill but I used my cordless), masking tape and paper, a second microfiber cloth or lint free towel, and about an hour or so of your time. I will also mention that this kit is for plastic lenses only. This kit will work on tail lights if needed but should not be used on plexiglass or glass surfaces, like your windows. You are also going to want to do this in a shaded area, so the components don't dry immediately when being applied.

Your first task is to clean off the headlights, and mask off the surrounding painted surfaces if you feel the need. Once this is done, you will have headlights that look like this:

They work but they are really hazy.
Next, spray the light down with water using the spray bottle, spray the 1000 grit sandpaper disc with water, attach the disc to the holder, and start sanding the headlamp lens using back and forth (not circular) strokes. Spray the lens with water frequently, as you need to make whatever you sand off float away. In a while, you should have a less hazy lens.

Your next step is to attach the 3000 grit sandpaper disc, spray that disc and spray down the entire lens again, and sand as you did before, with back and forth strokes. Don't forget to spray down the lens regularly to keep the paper wet and the lens clear of sanded off debris. This process is called wet sanding, and it is the same process used to sand paint nibs off of a newly painted car. Now you should have something that resembles the picture below.

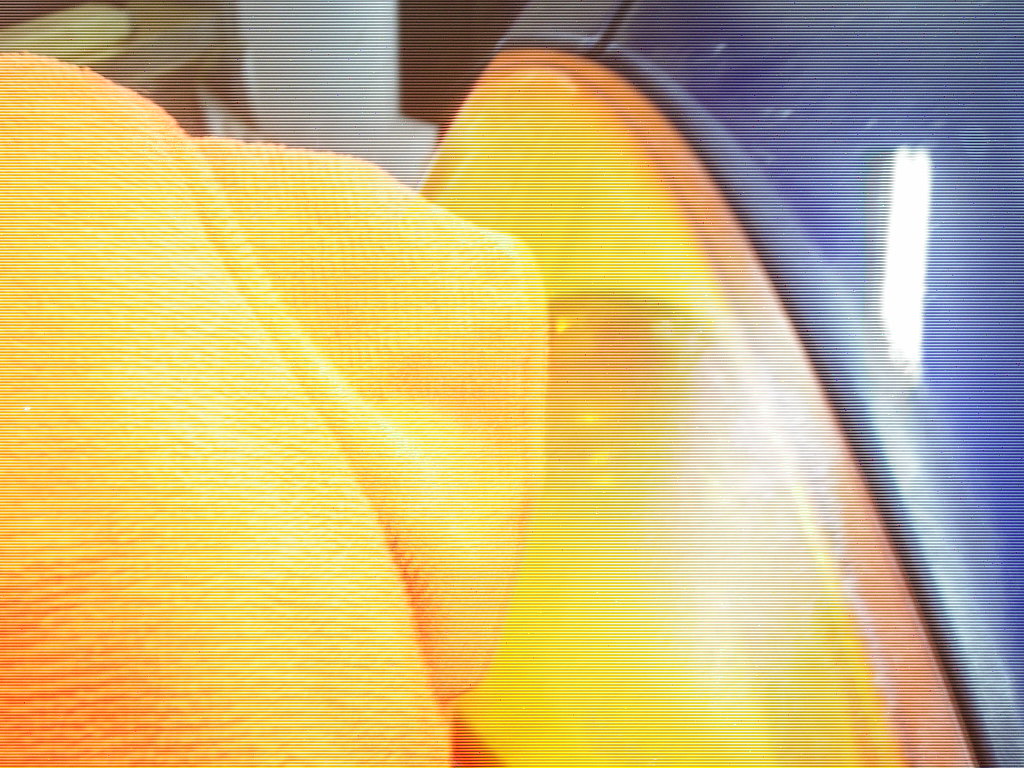
You can tell by looking more at the headlight lens that we now have a somewhat clear lens, but now we have to buff out those scratches that we put into the lens with the wet sanding. Install the buffer to the drill and add about a nickel sized dab of the plastic polish/cleaner as shown below.

If my camera wasn't over ten years old you could probably see the product. Before starting to buff and polish the headlamp I like to spread the polish across the lens, to reduce slinging the polish off into space or something. At this stage I would recommend that you polish one small area at a time, and add more polish to the buffer as needed to get the results you desire. Make sure to keep the buffer as flat as possible and never use the edge to apply polish.

In the above picture I am applying the polish/cleaner to the lens. Yes the drill is off, but this is what I mean by keeping the buffer as flat as possible.
Once you have buffed out the entire lens surface, use the microfiber cloth to remove the cleaner that will have coated the lens. Turn the cloth often to expose a clean surface to remove the residue.

Here is the almost end result, in this case you can now see the detail of the reflective surface for the turn signal lens on the inside and the headlamp is almost as clear. In this case since the headlamp bulbs get really hot and the car has over 140000 miles on it there is some minor heat damage on the inside that you really cannot repair.

Last step is to use the headlight protectant to seal the lens and protect your hard work. I applied mine with a lint free cloth and buffed with the microfiber towel after shaking out any dried polish from the previous steps.


Above is the left headlamp before anything was done to it. Below is the finished result. Even with my shitty camera you should see a difference.
So, what do I think?
While the product in kit form is convenient because you get almost everything you need, I would like to think that maybe two discs each of the 1000 and 3000 grit sandpaper would be nice to have, as well as a foam buffer as opposed to what looks and feels like a wool buffer. Another nice touch would have been to have the buffer removable for cleaning it out. As it stands for almost $26 I have headlamps on this vehicle that I am hoping I do not have to hear about for awhile.
One thing I will do as I use the buffer is check to make sure that it is still well bonded to the attachment that goes into the drill, as if this were to ever come apart I can see gouging the lenses very badly is a very short amount of time.
Most people have a drill to use with this project, and spray bottles can be had at the local dollar store for, well, a dollar and water comes right out of the tap in most places.
I would also point out that for light cleaning and polishing that the 1000 grit paper step could probably be skipped.
Would I recommend this product? Yes.
No comments:
Post a Comment