What happened is while trying to cut out the universal joint, I got a little crazy with the torch and cut some pretty deep gouges (for lack of a better term) into the loops where the caps on the universal joints attach. Most people would write this end of the axle off and go get a new one. I am not most people.

The first thing I did was use a flap disc (a grinder attachment) and a roloc pad mounted on an angle grinder to clean up all the metal flash, rough edges and rust that is present on everything at work. I also cleaned up the other side so that I could get a good ground for the MIG welder I planned to use to make the part useable again.
Once you have filled the gouges, get your flap disc out and sand down any raised areas. You might have to fill and file a few times to get it right. Take your time. You are saving money. Significant money.


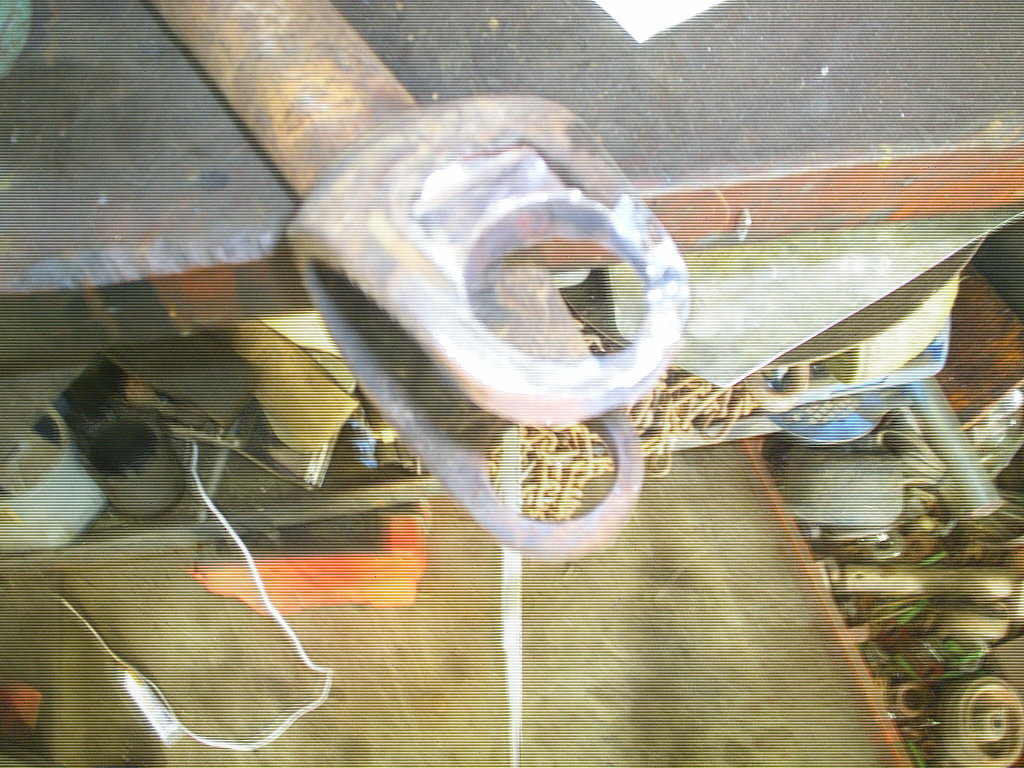
And here we are with no more voids, everything all filled in, but now the hole for the end cap is out of round. I used a grinding stone and a half round file to slowly remove material from the area I just filled in. Just enough to allow the cap to fit snugly into the hole. If you take your time, you will not have to fill in and you can get your axle back into service. File and grind a little at a time and test fit often.

After about 45 minutes of work, I had not only repaired the half shaft but I had also reassembled the shaft. It is now ready to go back into the truck.
Tools used (metal repair only)
*MIG welder
*Welding mask
*Gloves
*4 1/2" grinder with flap disc installed
*2" air angle grinder with 2" green sanding pad and later small grinding stone
(Universal joint installation)
*3 pound hammer
*Socket to counter sink the end caps as needed
Points to ponder:
*This does NOT make a good first time project. You have to be honest with yourself regarding your ability to use a welder. If in doubt, seek professional assistance or farm the project out.
*Patience is a virtue when making this repair. When you rush the job, it shows. Take your time.
*Eye, ear, and hand protection are necessary when working with metal. That being said spend a few bucks on these items. Cheap stuff is not good and good stuff is not cheap.
No comments:
Post a Comment